Showing posts with label DIY. Show all posts

Wednesday, May 11, 2011

Medicinal Roots - Week 3: Cleaning Supplies

A close friend of mine asked an excellent question regarding natural hair care products this week. While I would LOVE to have this be my topic for the week, I simply do not know enough about it yet to make a solid statement about them. Personally, I have rid my house of any salon type hair products and began working with a "natural" shampoo and conditioner that I purchased at my local grocery store. It is not the best option, but it is better than what I was using previously and has far less ingredients listed on the bottle than my old brand. Currently, I use Nature's Gate Shampoo and Conditioner (not combined). The version of Nature's Gate that I have is the Tea Tree Oil and Lavender. It took a while for my hair to get used to the new product, but now, having used it for about 3 weeks, my hair is very light, has tons of volume, and feels very silky soft. It was worth the wait. 


SO, until I have more information regarding organic/natural hair care, I will leave it as it is stated above. Do some research, check out their site, and make your own decision on whether or not they would be a good choice for you. 


In the mean time, below is an article I wrote regarding safe recipes for Spring Cleaning and the effects of the current harsh, chemical-filled cleaning supplies on the market today. Enjoy!
Spring Cleaning the Cleaning Supplies

Many of the synthetic chemical cleaners found in the average household are overly compartmentalized to suit specific needs such as clean drains, windows, dishes, or carpets. This means there is a cleaner for anything and everything, which also means there is a price tag that accompanies these cleaners leading to one more unnecessary poisonous chemical in the home.

Money and clutter aside, these chemicals are the hidden cost of the cleaning supplies deemed safe by government entities. According to the Environmental Protection Agency (EPA) in a study conducted in 1985, toxic chemicals found in household cleaners are three times more likely to cause cancer than air pollution. The Toronto Indoor Air Conference found from a 15 year study that women who managed the household had a 54% higher death rate from cancer than women who worked outside of the home in 1990 as a result of being consistently exposed to toxic chemical cleaning supplies.

Warning labels hide behind deep blue Windex liquid making it impossible to read unless the liquid is gone. Other's direct the user to call Poison Control if they ingest any of the cleaner or get it in their eyes. Cleaners are often sprayed on kitchen counters and tables, children's toys, and bathroom surfaces. All areas that contain items that end up in family members's mouths. A toothbrush or an apple, teething rings or bottles.

Spring cleaning has never been so dangerous.

Fortunately there is hope for the future, as all one needs to do is take a look into the past. With two common, non-toxic ingredients that have been used for hundreds of years, households are able to eliminate nearly every synthetic chemical cleaner under the kitchen sink. By combining baking soda and white distilled vinegar in a spray bottle and switching it out for the plethora of chemical cleaners lingering throughout the house, not only has the home owner saved money, but they have also protected their family from poisons that irritate allergies, cause asthma, and cancer among many other respiratory and digestive ailments.

To aid in the Spring Cleaning of Cleaning Supplies some formulas have been provided below:
  • All Purpose Cleaner: ½ Cup Vinegar and ¼ Cup Baking Soda mixed with ½ gallon of water. Use in a spray bottle to cut through grease, soap scum, water stains, disinfect surfaces, etc.

  • Deodorizer: Sprinkle Baking Soda on carpets, in shoes or gym bags to eliminate odors.

  • Windows: Mix 2 teaspoons of White Vinegar with 1 quart of warm Water.
Please remember to dispose of any chemical cleaning supplies in a safe and appropriate manner. 

Happy Spring Cleaning,

~ Birdie

Sunday, May 1, 2011

Desert Essences: Photo Group 3

Barrel Cactus Blossoms

Click on the image to see the full size. Check out this beautiful capture!
You can see the pollen attached to the fur of the bee! Amazing!
Another bee... look closely and see his pollen too!
Golden Hedgehog Cholla

I absolutely LOVED photographing her! So radiant! So beautiful!


Don't you just love her?

I fell in love with this color. It is the dried leaves of the Creosote Bush.
Gorgeous! 
~Birdie

Desert Essences: Photo Group 2

Saguaro


 Barrel Cactus


 Creosote Bush


~Birdie

Desert Essences: Photo Group 1

Buckhorn Cholla


 Palo Verde


~Birdie

May Day! Desert Essence Collection

Today I bummed a ride with Beau and his "little brother" who were headed to South Mountain Recreation Park to go hiking. We walked down the road together until we reached their trail head. They took to Alta Trail, I went the opposite direction and headed down Bajada (or something like that) Trail. I had 3 hours to myself to convene with the desert and attempt to collect some flower and cactus essences. At the beginning of the trail I noticed two plants that stood out to me among all the rest. Partly because they were bright in color and partly because there was a flurry of Bee activity around them. I took a few photos and decided, along my hike, that I would be sure to collect from at least these two plants once I found a good spot that had both. 
Such a long, lonely road...
I don't know what this is all about...
It took me a while to get myself in the "here and now" mindset as my head was rattling off all the things I needed to get done in the day: laundry, dishes, eat, man I'm hungry, I should have eaten breakfast before we left, homework, work work, I wonder what Izzie is doing, we need to get some boots for her feet so we can take her on long walks, what was that noise? 
*Focus!!!!!* 

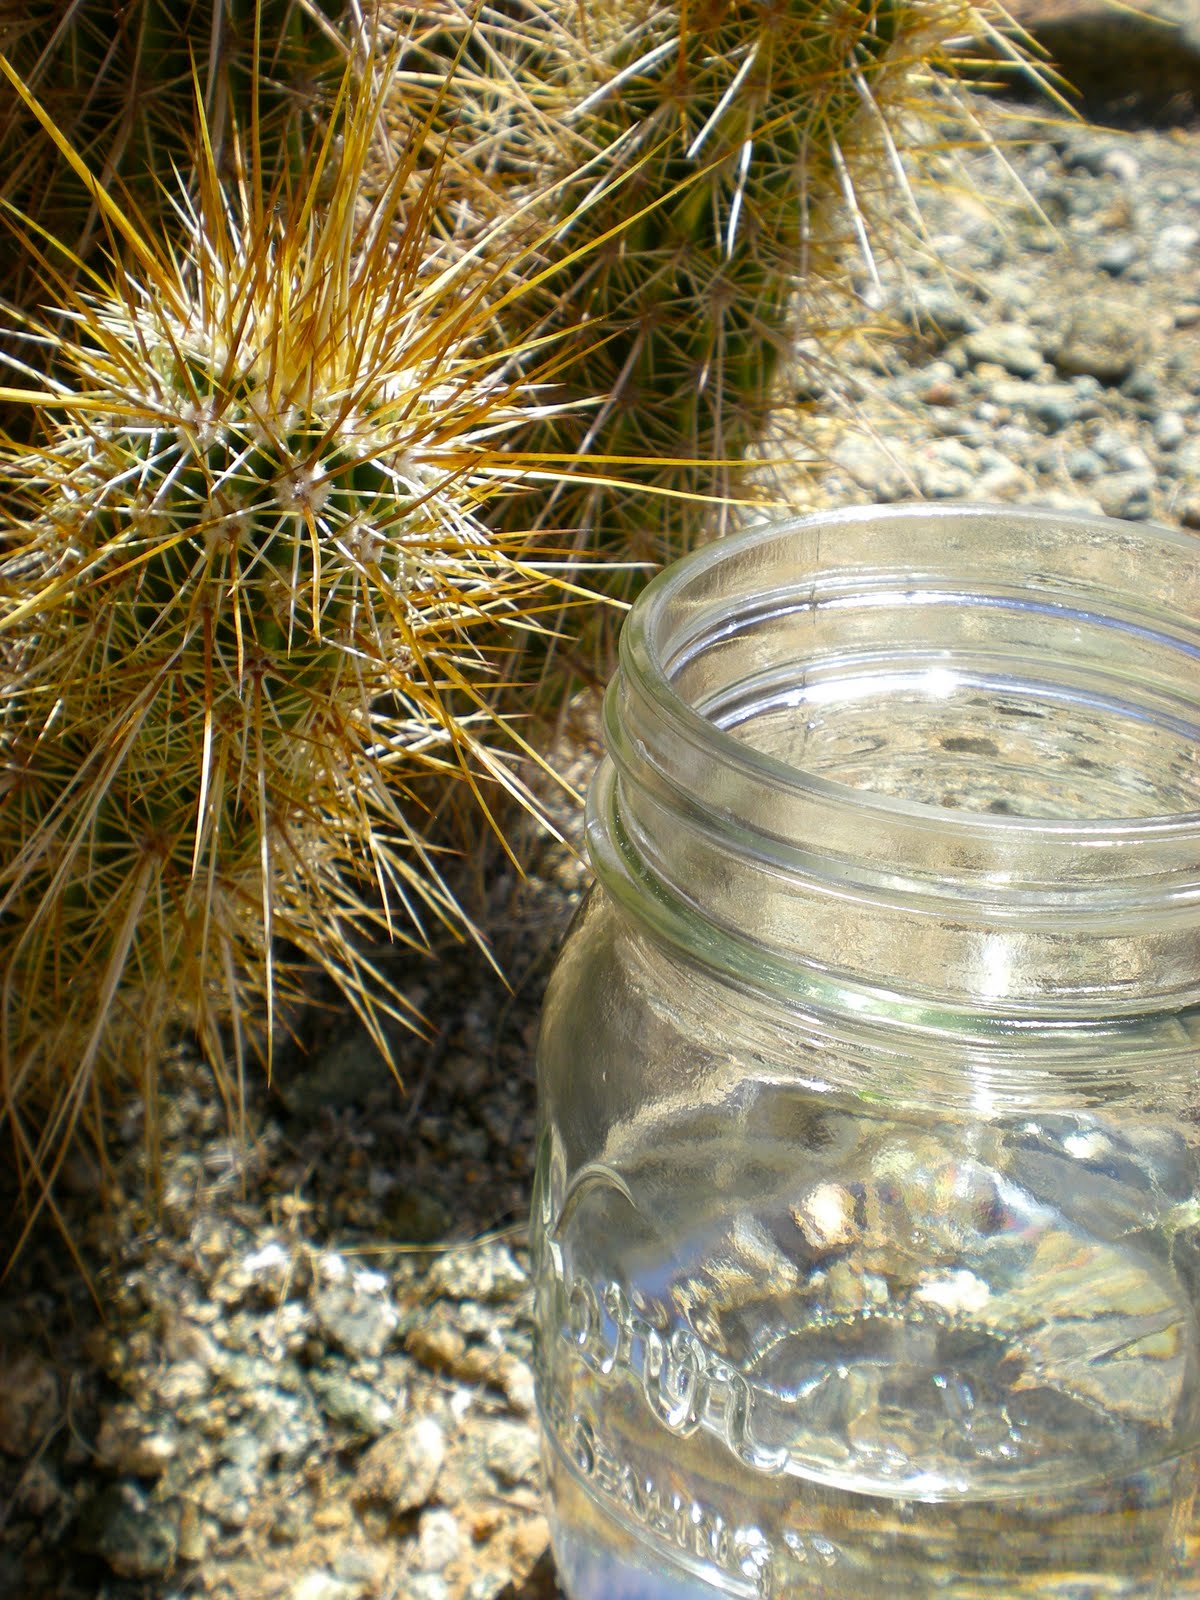
Like I said, it took some time. BUT eventually I let it all go and began to focus on the task at hand. I walked up and down the trail with an open mind and an open heart, looking for what plants spoke to me most. I came around a bend and noticed a beautiful Saguaro cactus. Setting out on this mission this morning, I was determined to collect some cactus essences because, not too long from now, I would no longer have access to their amazing healing and uplifting qualities. This Saguaro, or one of his brothers, was on my list. I then realized... how the heck am I could to get this giant cactus into my little mason jar that is half filled (or half empty) of water?? I took more photos and walked around some more to check out the area. I found two other cactus that I was really drawn to and photographed them as well. Then I set out to collecting the essences.
A fallen Saguaro. The end of an era. So beautiful.
A different angle of the fallen Saguaro.
Buddies.
Starting with the Buckhorn Cholla, I sat down and talked with it for a minute. I explained what my purpose and intent was and asked if the Cholla would be willing to help. I received my "yes" (trust me, I know what a "No" feels like... and I listen intently to those!) and lifted a piece of the Cholla into the glass and let it rest in the water. 

It is in best practice, when collecting anything from plants, to try not to pick or sever the plant. A live plant is always better than a dead one.

I took some notes and sat with the Cholla for a little while. Once I had felt I had gathered all the information I needed or could, I moved on to the next plant, leaving the mason jar with the Cholla to charge in the sun. 
I continued doing this with all 5 plants - 3 cactus, 1 tree, and 1 bush. I took lots of pictures of the area and of the plants and enjoyed listening to the bees busying themselves in the pollen. I used to be terrified of bees... until I began to understand how important they are to our ecosystem. Incredible, incredible little species that the world relies on. Amazing creatures. 

Here are some photos of my morning:


I have so so many photos of this trip, so I am going to split them up by plant in a few more blog posts to follow. In the mean time, some matronly advice - when venturing out into the desert, remember to bring LOTS of water, have a phone on you, hiking shoes, and a nice shade hat!


Happy Essence Harvesting!
~ Birdie

My haul for the day. 5 wonderful essences!


Wednesday, March 30, 2011

Making Paper from...well... Paper.

11 years worth of school work... oh what treasures might be hiding inside!?

There has been a project weighing on my mind for quite some time now... let's not discuss for how long because I am sure it has been floating around, lost in the abyss, since before Christmas...


Moving on. 


I had recently found a medium sized RubberMaid tub in my closet that was about 150 lbs and filled to the brim with binders, spiral notebooks, and homework from the last 11 years of school. Don't ask me why I kept it all, I just did. I have no explanation. Looking back I think, "Why did I keep 8th grade homework for so long? Why did I keep it at all? What was I thinking lugging this around to three different states, to 10 different homes?" I don't know. I can't explain it. Anyway.... I went through all the paper and binders and books and pulled the important pieces out. 
Awards from high school newspaper. Yeah... I rock.

Ughhh... floppy disks? Oh dear.

Note to self: Must find computer that reads floppies.
Articles I had written for the high school news paper. Poetry for a creative writing class. Track stats from freshman year... etc. I put all that aside for a scrap book and wrote the rest off to be recycled at a later date...apparently a much later date as it is 4 months later and TAH-DAH!!!! It's still here in our house. Progress is great. Then I started a class at SWIHA. A class called Optimum Health and Sustainability, instructed by Urban Farmer: Greg Peterson. And what I learned (among many many other things) was that while recycling is a great idea compared to just tossing everything in the garbage, it was still awfully wasteful. You see, there are these two other pieces to that loop we all learned about in elementary school. Reduce and Reuse. *Lightbulb* It all makes sense, really. Reduce your consumption of materials by reusing a lot of what we already have. Glass pasta sauce jars can be used to store food instead of plastic tupperware and instead of tossing or recycling them. Worn out clothes can be turned into rags for around the house. And so on. 


The class requires, as an assignment, to come up with a plan for sustainability. A plan of action, if you will. Now, as it stands, I already feel like Beau and I do a pretty good job at being as environmentally friendly as we can... we shop at farmer's markets and buy organic. We have stopped buying chemical cleaners, we have a garden that grows some seasonal veggies for us, we recycle more than we throw away, etc. But then there was this little blue tub of a monster in our bedroom, just sitting there saying "Do something with me for crying out loud!!!" And so I did.


I decided it was time to finally tackle that tub of paper, binders, and spiral notebooks once and for all. (Side note, I'm a freaking crazy person!) What I ended up doing for my assignment was make new paper out of my old papers. Not only am I reducing my consumption by creating new paper, I am also reusing the old paper I had saved up for 11 years thus minimizing what ended up in recycling or the trash. Not only that, but I decided I would put some seeds in the paper too so that once it was done being used it could be planted, biodegrade naturally and quickly, and grow beautiful herbs, flowers, or vegetables. Now we have come full circle.... and I think it is awesome. 


Here is how I did it and what you will need to do to try it out:
Project One: Creating the Paper Mold
  • Purchase a few 8x11in frames from good will (look, reusing again!)
  • Purchase a roll of fiberglass or metal window screen.
  • Purchase or find an 8x11in piece of hard plastic that fits in the frame.
  • Cut out a piece of screen the size of the frame and staple it to the frame.
Homemade frames (see note at the end.)
Before the screens.

After the screens.

Project Two: Making the Paper
Step One.
  • Collect your paper. Be sure to avoid Magazine and newspaper print. Use minimal amounts, or none at all.
Step Two...it's oddly cleansing.... shredding early college notes.
I now have a rubbermaid tub full of shredded paper...
and I only shredded about 100 pieces. Oy.
  • Shred the paper into strips or about 1x1 inch pieces of paper.
Paper soup.
  • Take a few handfuls of paper and soak them in water over night.
Margaritas anyone?

Mmmmmm slop.
  • Take about a cup of the soaked paper and place into a blender. Add about 3 cups of WARM water to the blender. Blend until you reach an oatmeal-like consistency. (Note: Batch will be very liquidy. That's a good thing.) Place blended mixture into a large container. Repeat process until all soaked paper is gone.
  • Dip the frame (without the plastic) into the mixture of oatmeal-like paper and sift just above the surface of the water as if you were panning for gold.  (Note: This will spread the wet paper mixture evenly over the screen of the frame)
Spreading it out, time to strain it.
  • Lift the frame out of the water and place the plastic piece on top of the paper mixture in the frame. (Add seeds at this point if you plan on doing so. You can also add dried herbs or pressed flowers/leaves if you would like.) Begin to press on the plastic to push the water out of the paper and through the screen.
  • Once the paper mixture begins to separate from the screen you should be able to lift (gently) the "paper" out of the frame and place it on a table to dry. Pat with a sponge to soak up any access water if necessary. Repeat this process until complete.
Finished product... a light blue. Pretty. :)
  • Let pieces of paper dry for 24 hours each side. Place each piece between two towels and iron on "warm" to help straighten the pieces out. 


Viola! You have recycled paper! Enjoy!

Please note- my photos are a little different than the instructions because I am enacting the "Do as I say, not as I do" rule. I chose to bite off more than I could chew this first time around and made frames from scratch that were 3x3ft and used one screened frame on top of the other to push the water out. It worked well, but took a few attempts to get it right. Overall, I'm pretty stoked about how it all turned out. 

Here are some additional photos from the experiment: 
All my binders ready for donation or recycle or upcycle/reuse...
not sure what to do with them just yet.

My "stapled" pile.... um... I hate staples. Officially.

The tiny pile destined for recycling.
Best of luck in your paper making adventures,
~Birdie